SSH under Windows
Openssh with Powershell
Windows offers a fully fledged openssh client (https://learn.microsoft.com/en-us/windows-server/administration/openssh/openssh-overview). Thus the same methods as with Linux/Mac OS X are working.
Open the Terminal app and setup our SSH CA first:
"@cert-authority *.asc.ac.at ecdsa-sha2-nistp256 AAAAE2VjZHNhLXNoYTItbmlzdHAyNTYAAAAIbmlzdHAyNTYAAABBBADeLjSj4J0MFrdxdn9M/mcZi1fqKnQB6ZHjysUlontzFXI9PVoxPjYqMDDO0hM6IM6NCnkiiFqveEvSoXDnGWI=" | Add-Content .ssh\known_hosts
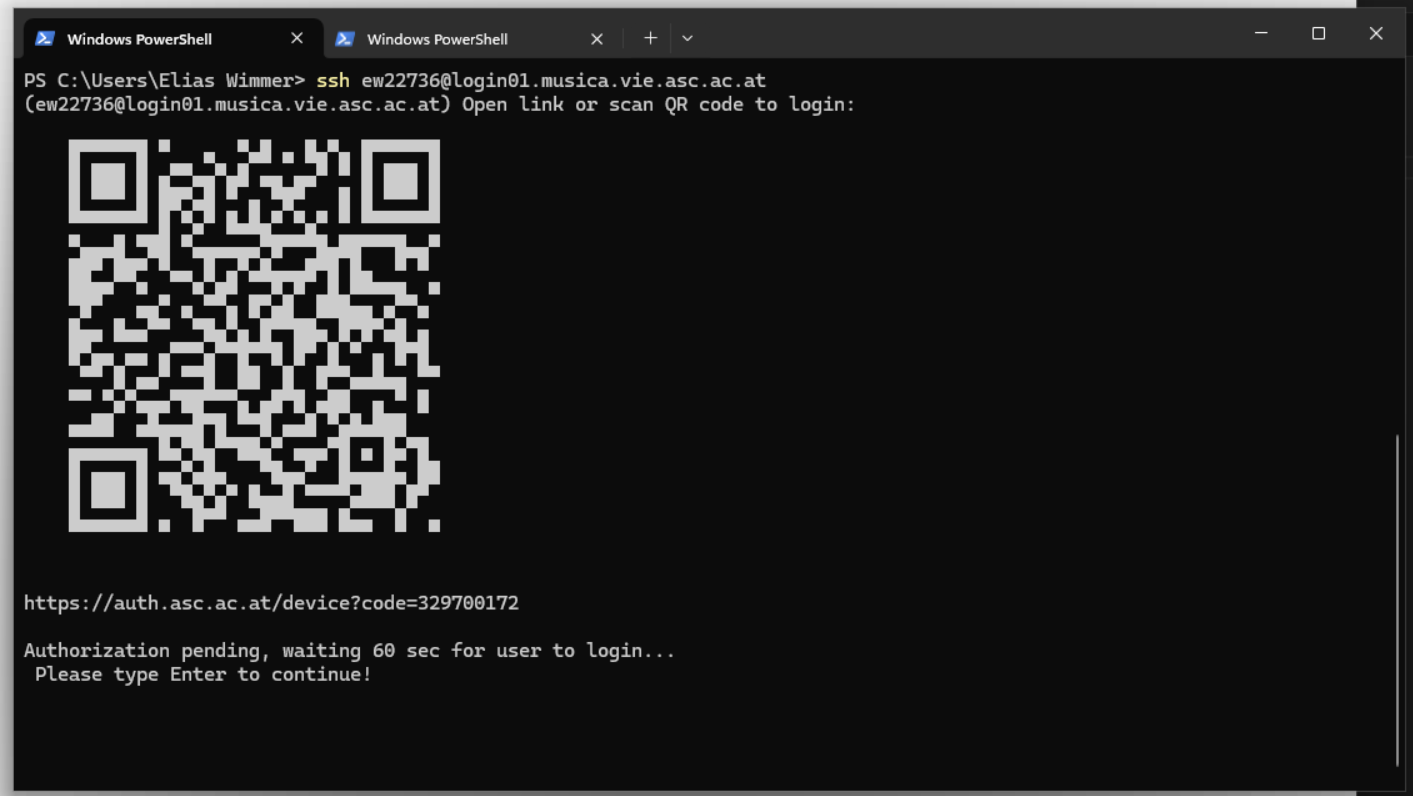
Now you can login via the device auth flow
With Step SSH Certificate
step needs a running ssh-agent, execute the following commands to enable the ssh-agent on your system.
First open a Terminal (Admin):
# By default, the ssh-agent service is disabled. Configure it to start automatically.
# Run the following command as an administrator.
Get-Service ssh-agent | Set-Service -StartupType Automatic

# Start the service.
Start-Service ssh-agent
Then install step:
winget install Smallstep.step
Now you can bootstrap step ssh on your machine.
step ca bootstrap [--context asc] --ca-url https://auth.asc.ac.at:9000 --fingerprint 44b048473242281db1da57124c2b843741d6c92a8fb5d0482dec032e957f2919
After login you can use ssh as usual without being asked to login again.
step ssh login [--context asc]
ssh [-A] [-X] <username>@musica.vie.asc.ac.at
VSCode
A convenient way to work in our system is VSCode with the Remote Development extension. When you have setup your environment withstep ssh as described above, the extensions should work out of the box.